Solutions 
Manufacturing
Mechanical & Electrical Design
Industrial Management System
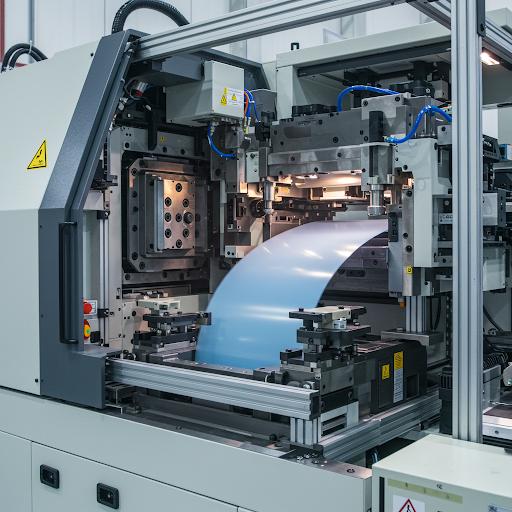
Injection Molding
Industrial Maintenance & Repairs
CNC Machining
3D Printing Service
Sheet Metal Fabrication
Surface Coating
Metal Part Production & Others
Wireless Technology
Manufacturing
Mechanical & Electrical Design
Industrial Management System
Manufacturing Execution System (MES)
Product Lifecycle Management (PLM)
Warehouse Management System (WMS)
Barcode & QR code Management
Supply Chain Management
Production Planning and Scheduling
Quality Management
Maintenance Management
Data Analytics and Reporting
Compliance and Safety Management
Customer Relationship Management (CRM)
Energy Management
IoT Integration
Product Data Management (PDM)
ERP System
Document Management
Accounting and Financial Management
Task and Project Management
Workflow Automation
Human Resources Management
Cost Management
Contract Management
Sales Management
Injection Molding
Industrial Maintenance & Repairs
CNC Machining
3D Printing Service
Sheet Metal Fabrication
Surface Coating
Nano coating
Liquid Coating
Electrochemical deposition
Chemical Solution deposition
Powder Coating
Flame Spraying
Plasma Spraying
HVOF (High-Velocity Oxygen Fuel) Spraying
Ion Beam Assisted Deposition (IBAD)
Chemical Vapor Deposition (CVD)
Physical Vapor Deposition (PVD)
Chromate Conversion Coating
Phosphate Coating
Anodizing
Metal Part Production & Others